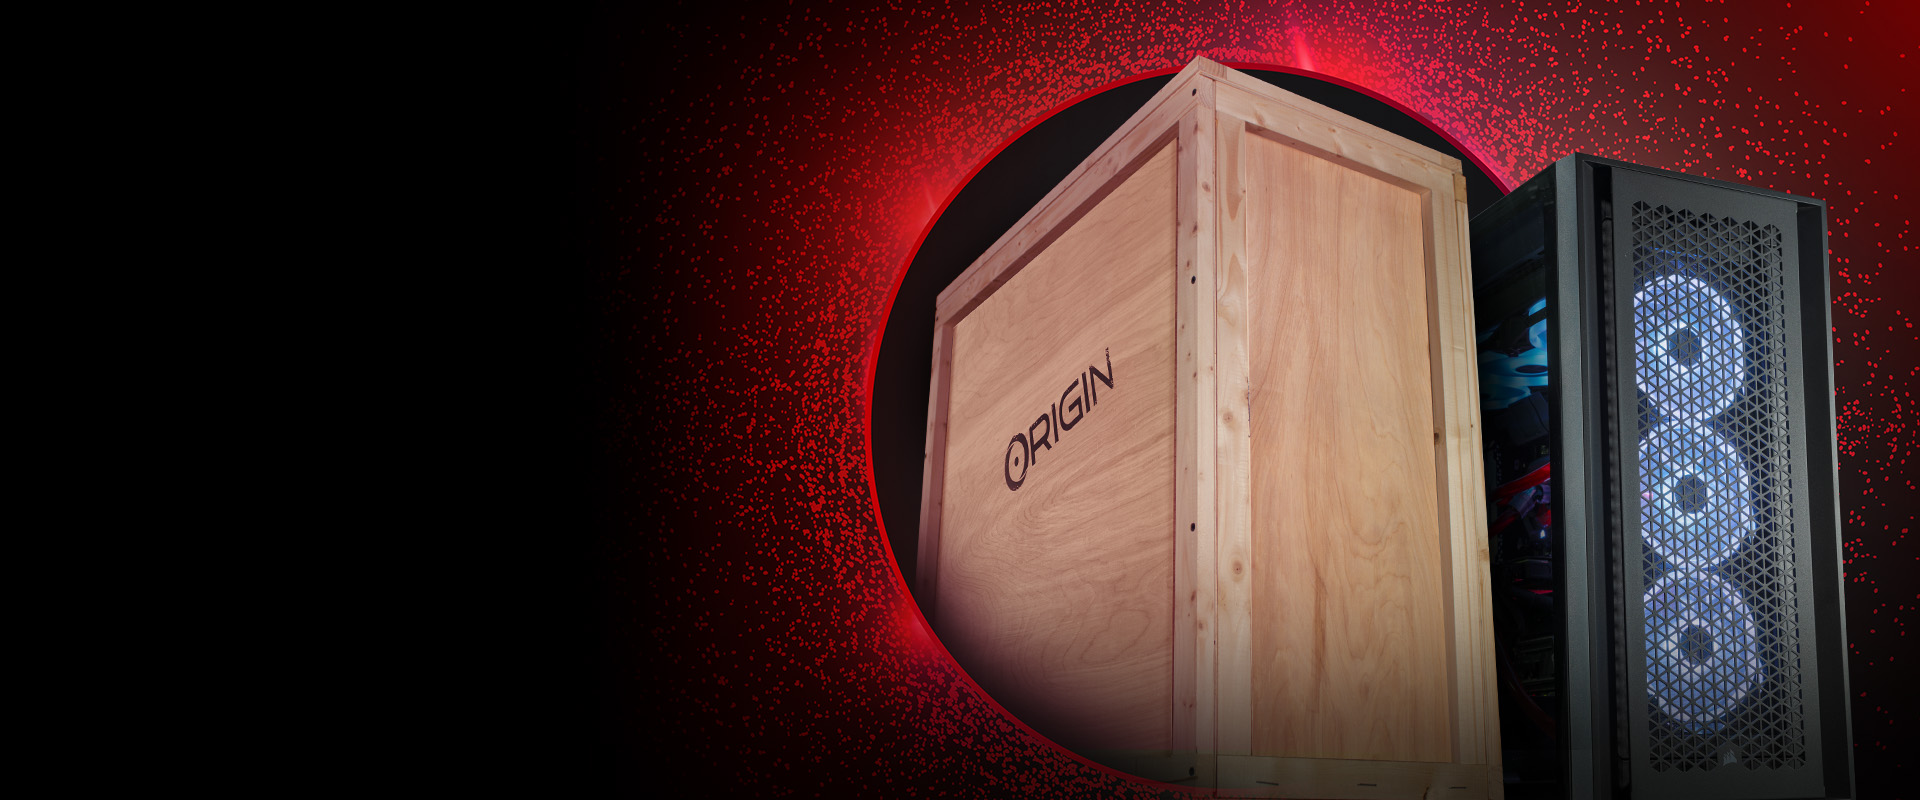


ORIGIN PC builds some of the best, high-performance PCs in the world. When ordering an ORIGIN PC system, you can rest assured; to protect your award-winning PC, many of our systems are shipped in our Wooden Crate Armor. This added layer of security prevents any tampering and ensures your desktop arrives in perfect condition.
Receiving your new desktop is exciting, but can also be an overwhelming process. For the best Unboxing Experience, our team has created some instructions to guide you through the next steps.
VIDEO TUTORIAL
Tools That You Will Need

1. Power drill with Phillips bit
OR
Phillips head screwdriver

2. Boxcutter
Step 1: Opening the Wooden Crate Armor
The first step is to remove the top wooden panel from the crate. We recommend a power drill with a Phillips bit or a Phillip’s head screwdriver. Moving forward, unscrew every screw off the top panel. Next, remove the top panel and carefully place it aside. After the crate is opened, you can find an ORIGIN PC envelope containing important documentation about your ORIGIN PC.
Moving on, you can unscrew the crate’s side panel. When you’ve removed all the screws, carefully remove the side wooden panel and put it aside.
Step 2: The Cardboard Box
CAUTION - system may be heavy.
After removing both the top and side panel, carefully lift and slide the cardboard box out of the Wooden Crate Armor. Ideally, you want to place the cardboard box on a sturdy, flat surface such as a strong table or the floor.
Using your box cutter, slit open the top of the box. Inside the cardboard box, you’ll find some extras including an ORIGIN PC Shirt and an ORIGIN PC accessory box.
After collecting these, it’s time to take out your PC. You want to use two hands for this. Carefully, rotate the box so that the top faces perpendicularly to your work surface. You’ll then use your box cutter to slit open the bottom of the box. In other words, the side that is opposite of the one you already opened. When you’ve opened both the top and bottom of the box, using both hands, carefully bring it right side up to its original position. When it's upright, slide the cardboard box upward and remove it from your PC. While doing this, you’ll also find your ORIGIN PC mousepad.
Step 3: Final Steps
With your PC out of the box, remove the top foam insert. Then, use both hands to carefully lift it off of the bottom one. After lifting your PC off of the bottom insert, gently place it back down onto your work surface. Then, you can use both hands to remove the PC cover.
We’re almost there, but make sure to be VERY careful for these next steps.
First, remove your PC’s side panel. Unscrew the top and bottom screws on the back of the side panel with your fingers. Use both hands to remove and support the side panel, then gently place it aside. You now have access to the inside of your PC and can remove the Instapak foam. After removing the foam, put the side panel back in. Make sure to align the latches so that they fit back into place. Once the panel is reattached, retighten the screws in the back.
Finally, power your PC by inserting a power cable and making sure that the power switch in the back is flipped on.
With all that done, you’re finished. Welcome to the ORIGIN PC Family.
ENJOY!


